My wife and I have quite some appointments. And as I am working shifts, “synchronization” of our schedules is quite challenging. I have been thinking about a smart screen or even a smart mirror for a while now.
Finally I got the time to dig into this topic. After some internet research I quickly learned that the raspberry-pi based “MagicMirror2” software is the to-go approach. It is free, open source and can be customized with s ton of modules which are created by a big community more information can be found at: https://magicmirror.builders/
I first installed a virtual machine in order to tinker a bit with the software. And after some first try and error I got everything running and had a first smart screen showing up. Nice!
So as a next step I set up one of the raspberry pi’s which I had laying around. Once the raspi was up and running I checked for an inexpensive monitor and an according wall mount.
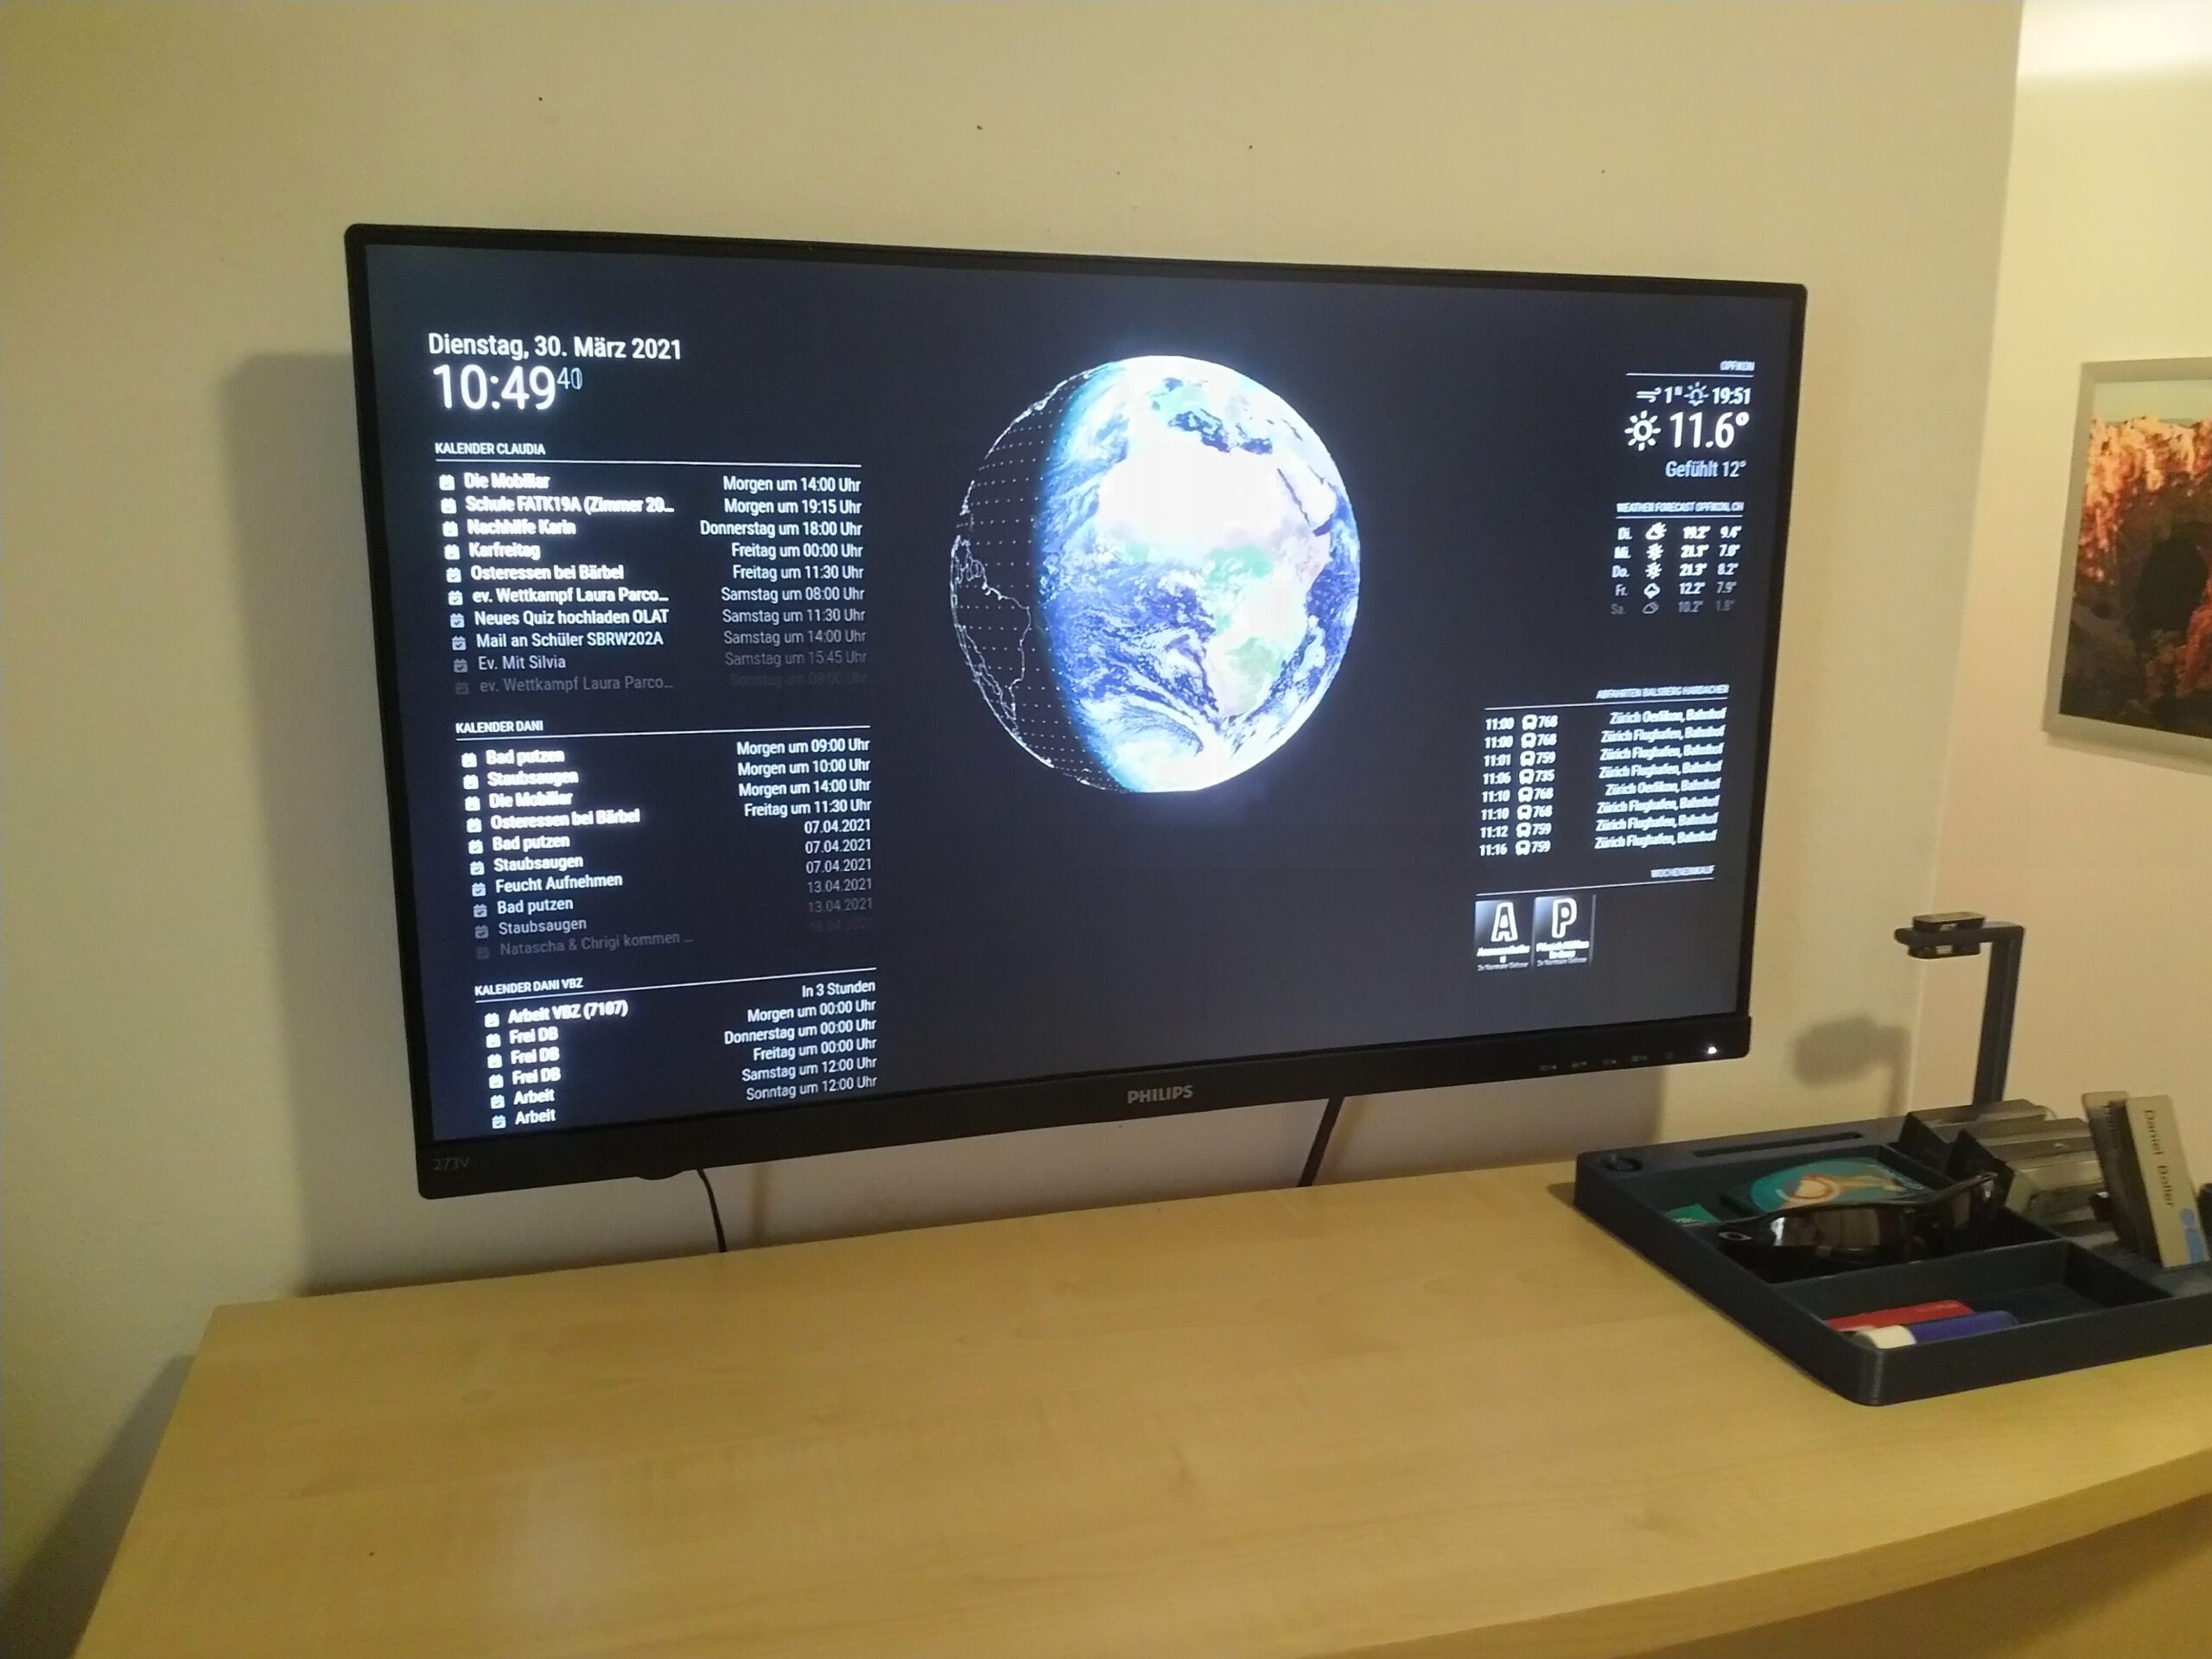
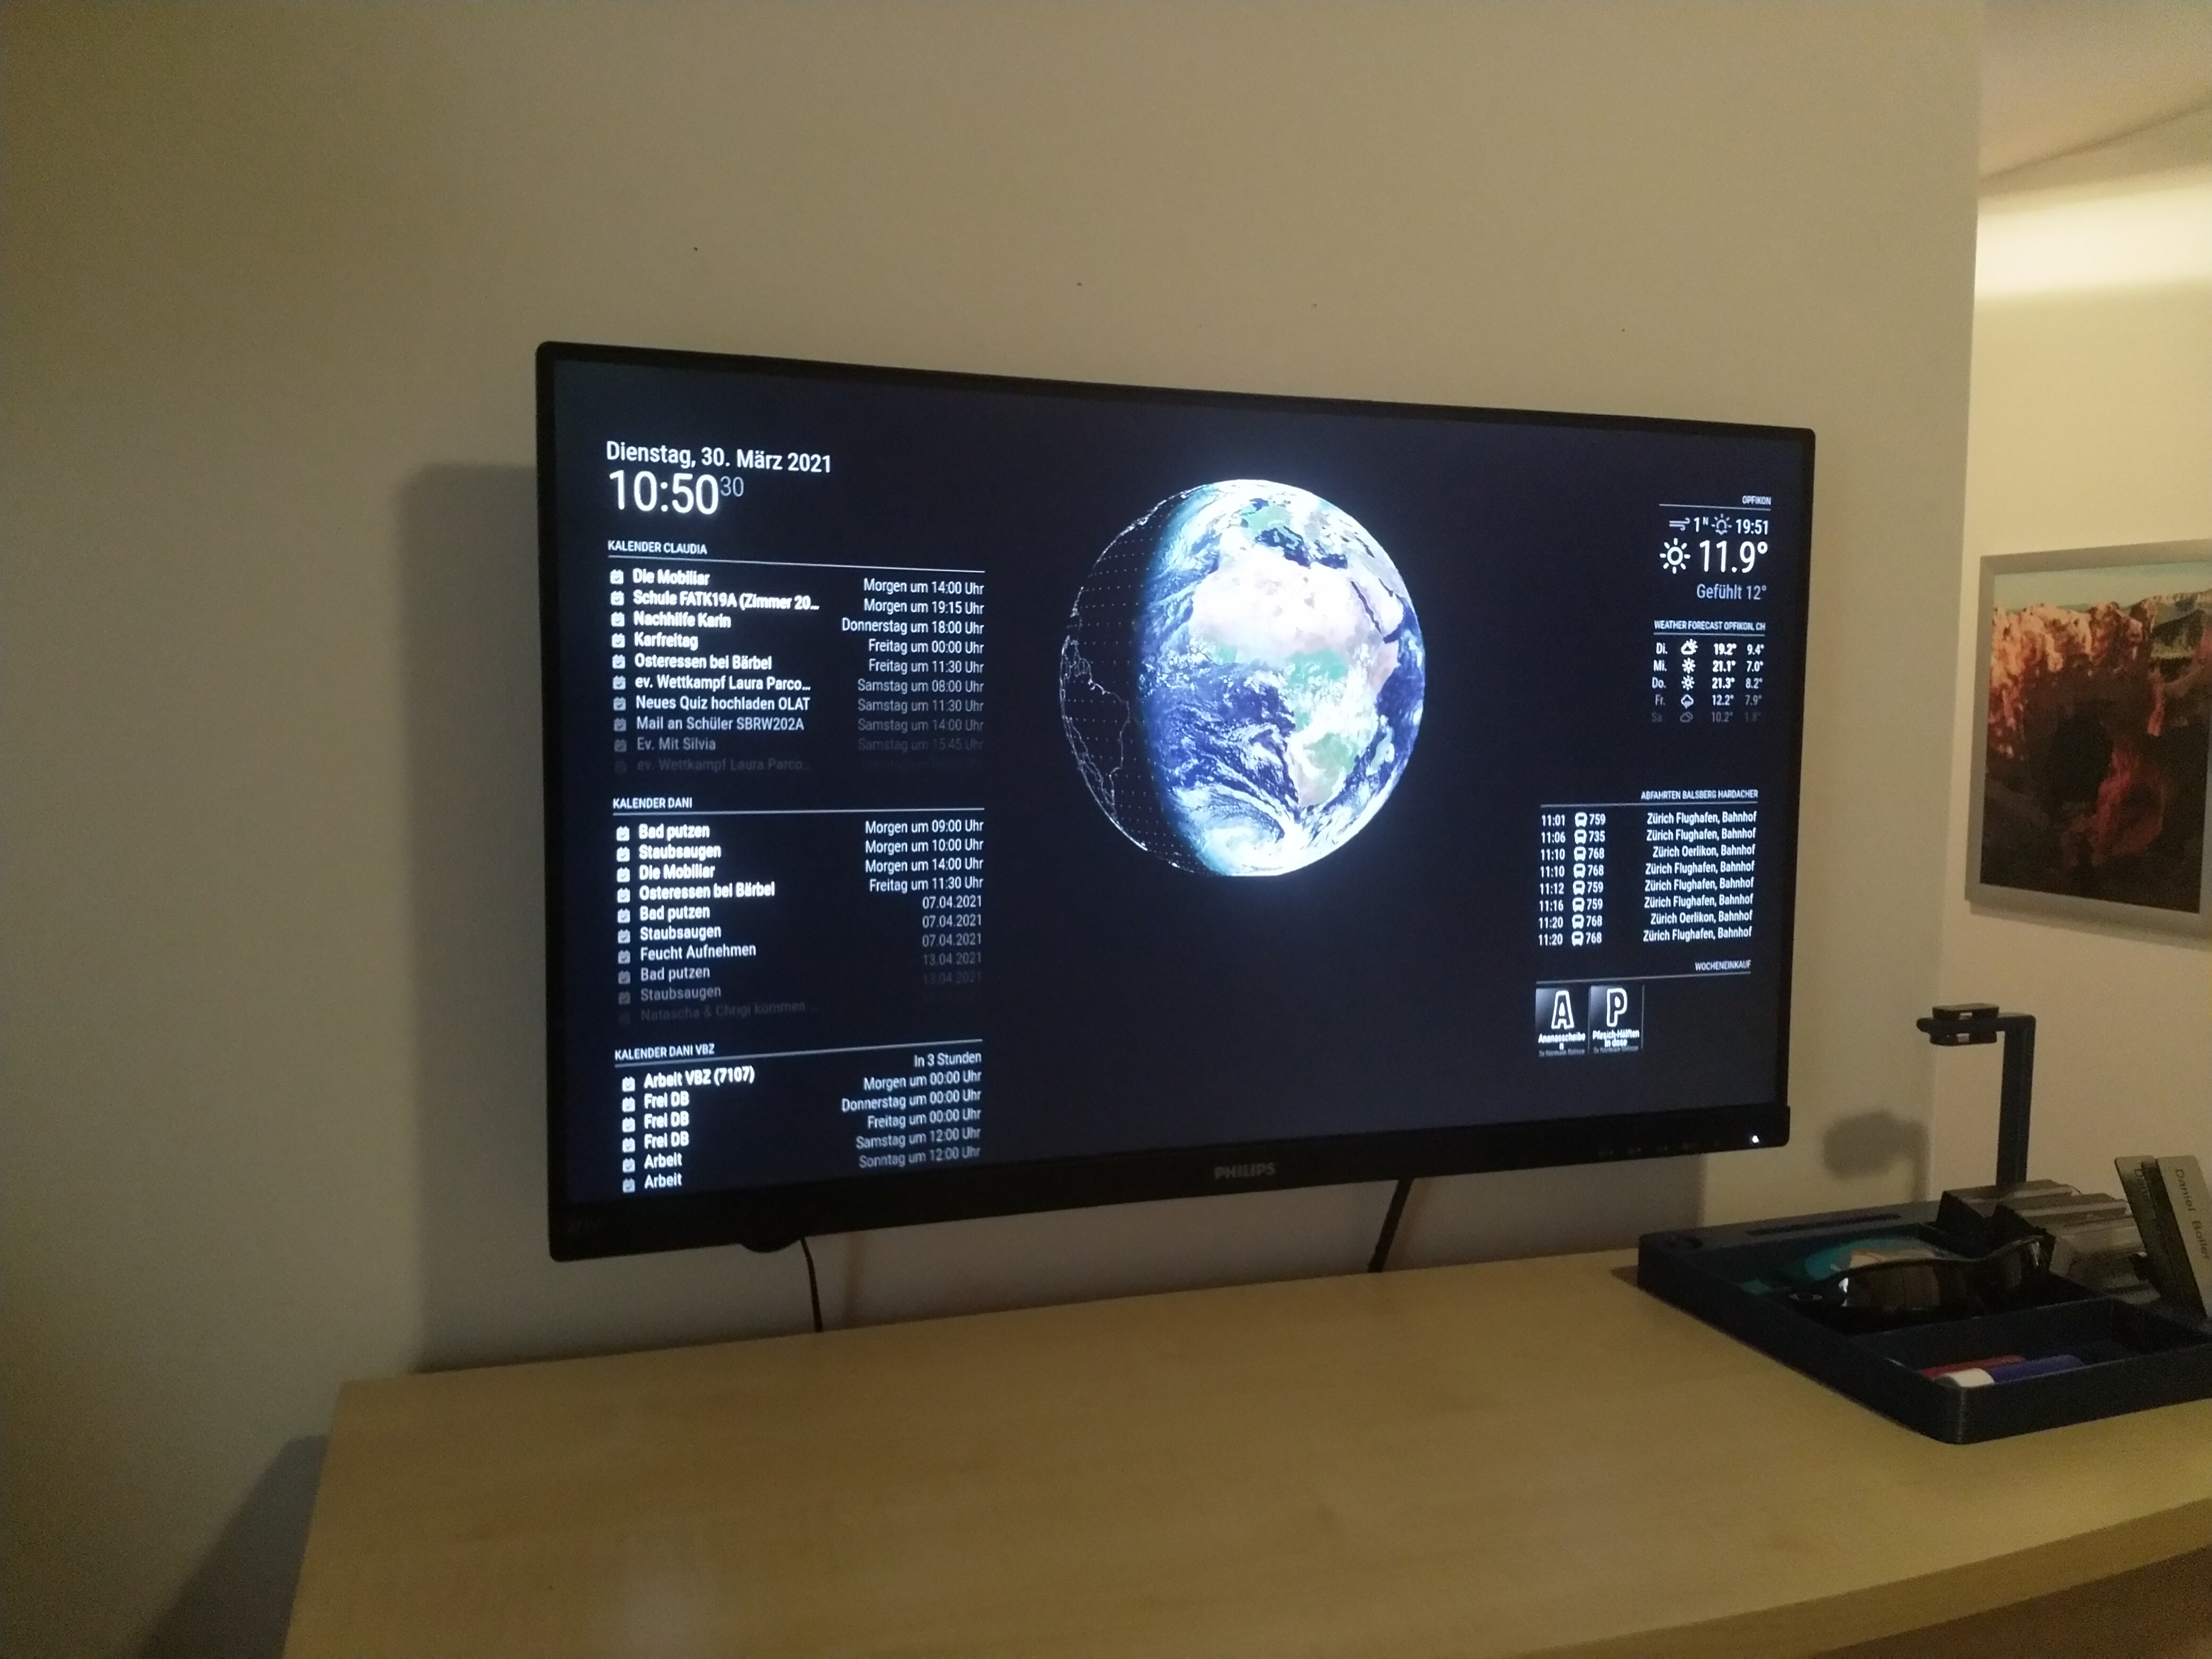
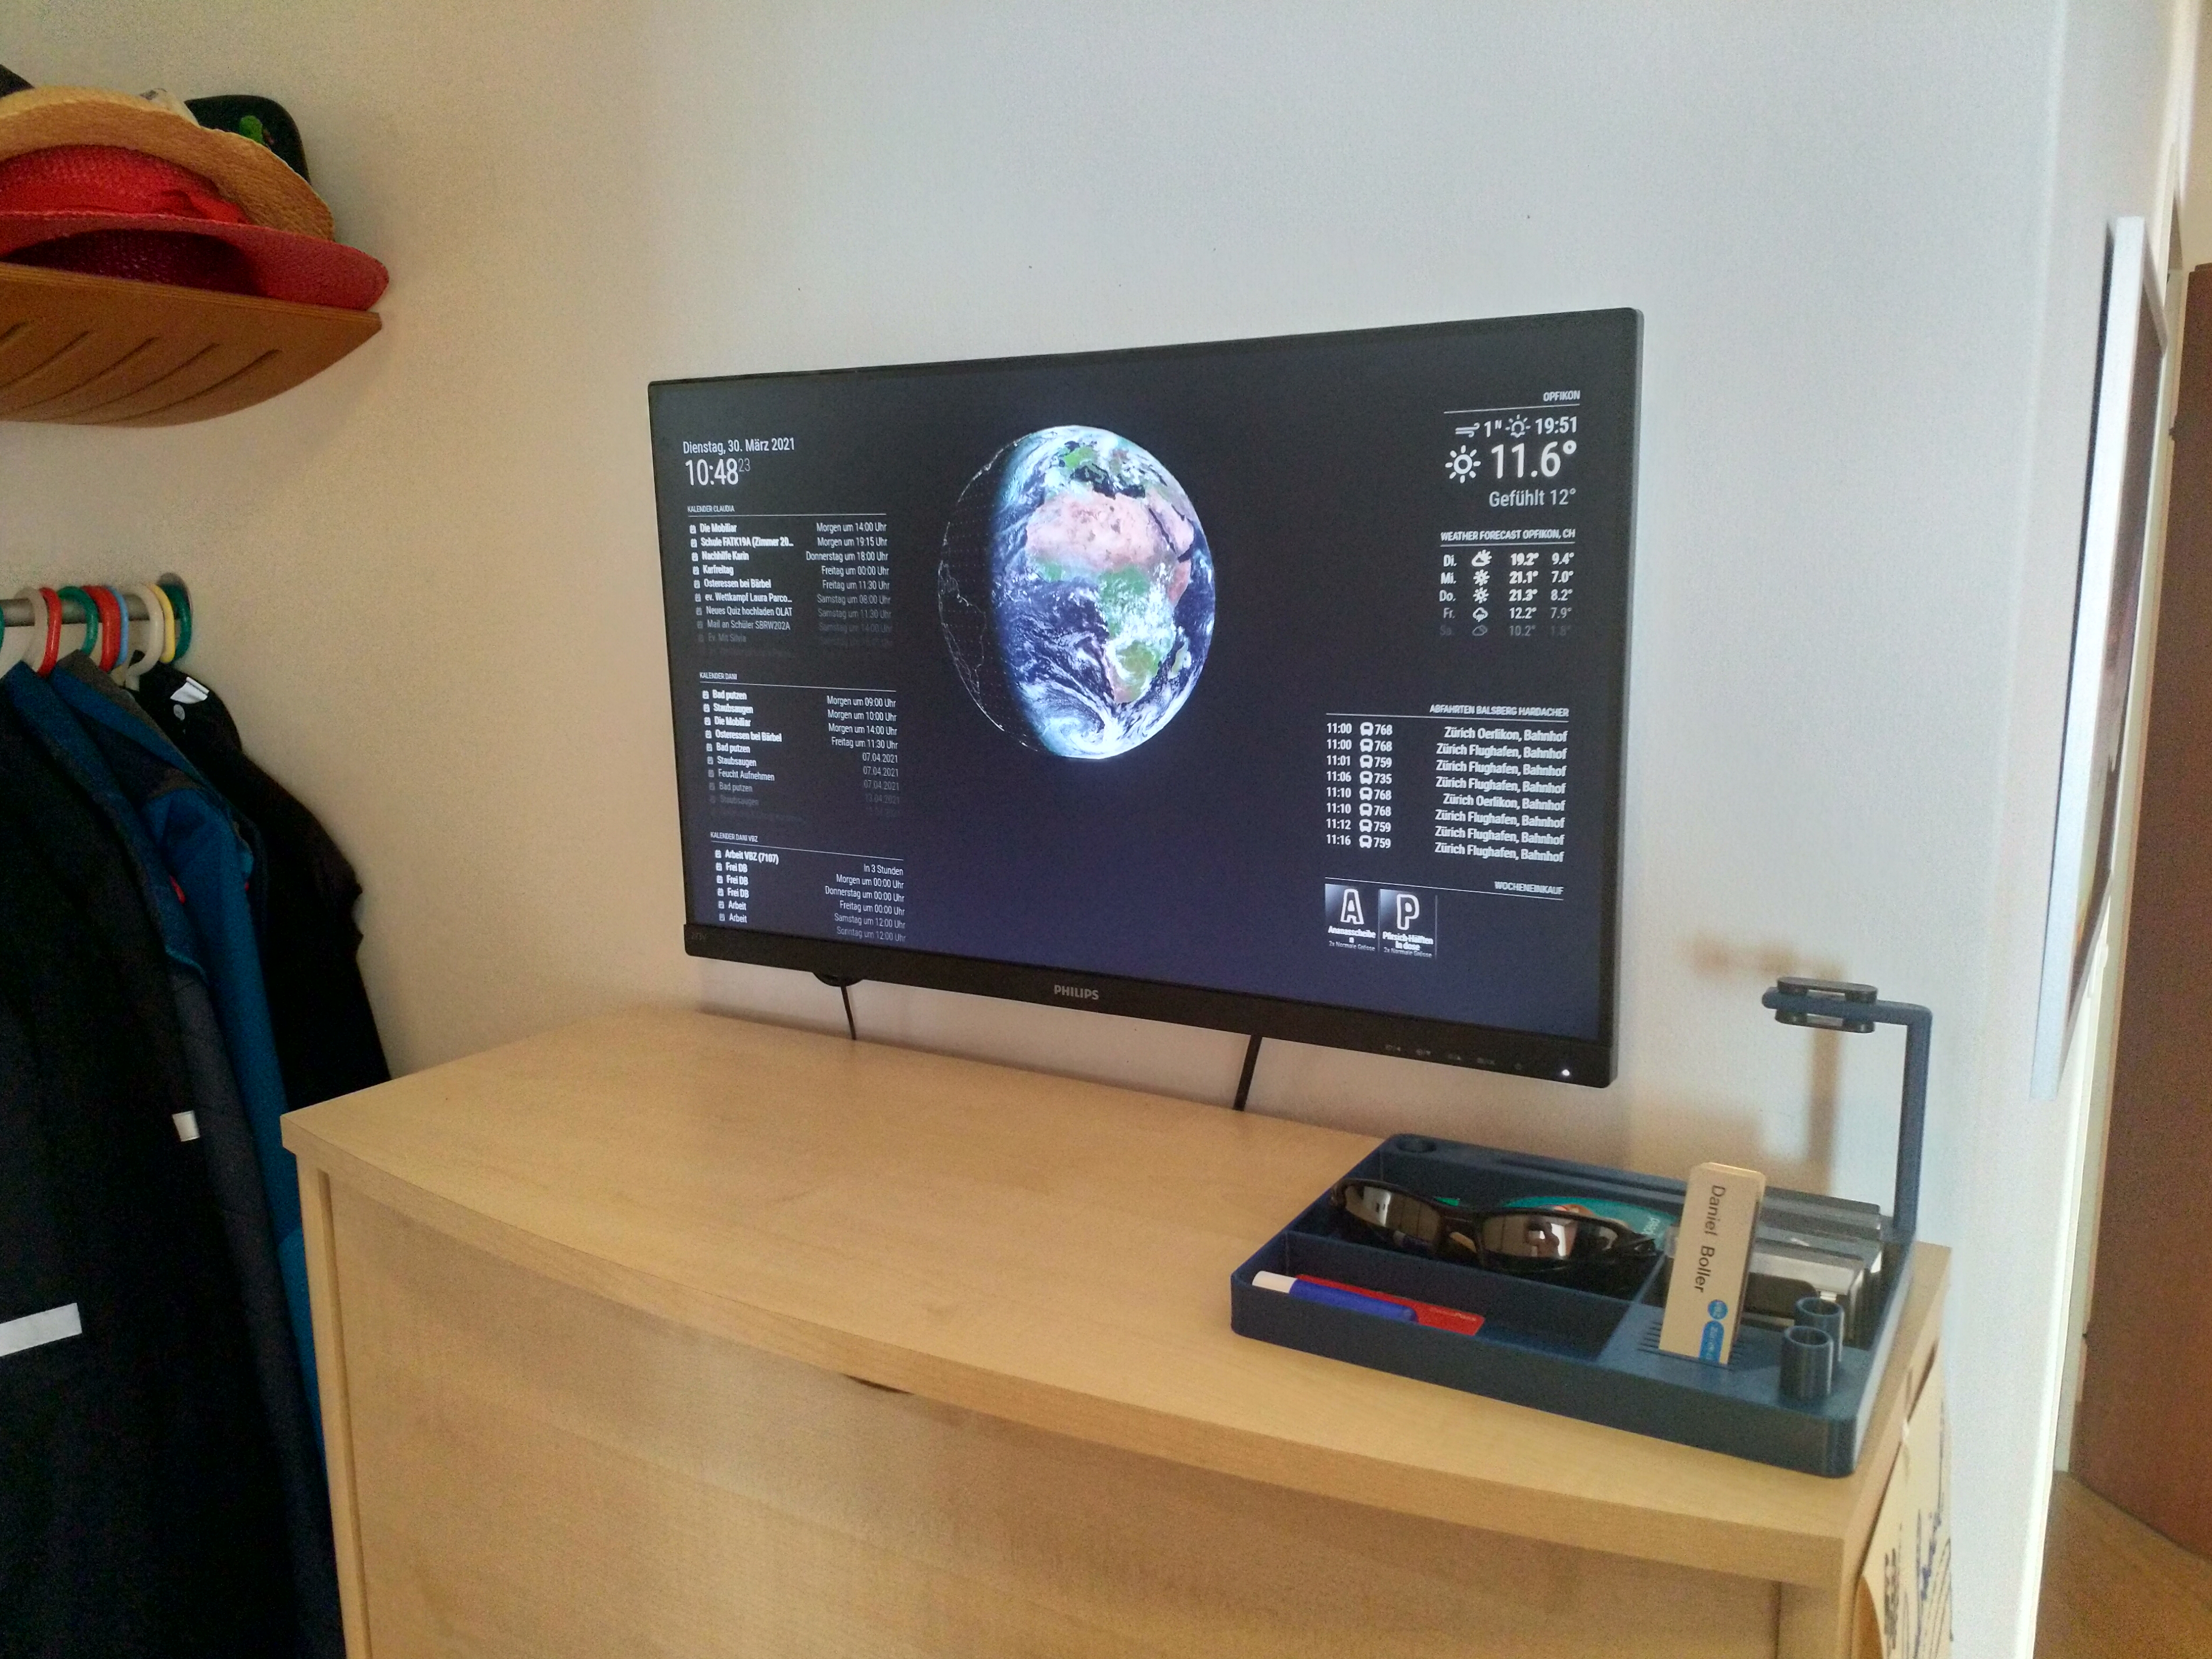
The final solution is simple and straight forward. Just the screen mounted to the wall and the pi mounted on the backside with some power strips.
And this is how it looks like (I will add a white channel for the cables below the monitor asap):


List of Parts
The following parts have been used:
- Raspberry Pi 3
- Standard Raspberry Power Supply
- 32GB MicroSD Card
- Philips 27″ FullHD Monitor
- 10cm HDMI-Cable (HDMI-A Male to HDMI-A Male)
- Tesa Power Strips (To attach the RaspberryPi to the Monitor)
- A Thin VESA wall mount
- Micro-SD Card Reader (in order to flash the card with the latest OS)
Author
daniel.boller@email.ch
Related Posts
3D-Printing: Hook system for kitchenware
Had some aluminium profile left over from my Desk-PC project. So I once again went to the drawing board and quickly designed...
Read out all
Cosmetical updates for my HTPC
I recently updated my HTPC. The following parts were changed:
Read out all
Smarthome Update: Finally a purpose for my old tablet
I had this old tablet from Aldi lying around. Initially used it was used as an ebook reader. However, I always wanted...
Read out all
Desk-PC 2.0 Update: Front cover finally painted
I finally managed to spray paint the cover of the left drawer. Used some aluminum primer first, then three layers of white...
Read out all
Desk-PC 2.0 Update: External cable management completed
I finally found a nice looking cable tube which fits perfectly into my setup.
Read out all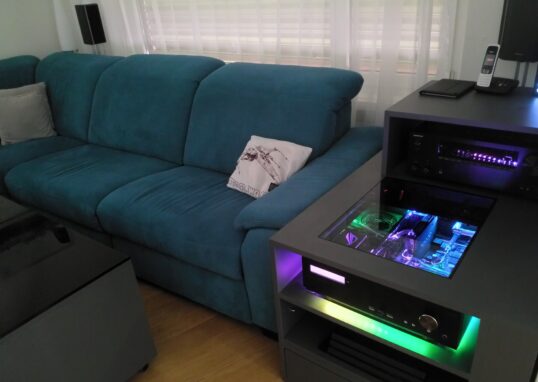
The Makeover: HTPC in the spotlight
It has been a while since I last modified my HTPC in the living room. I finally had some time and a...
Read out all